Prepare accurate company information
Have your company name, registration details and contact information ready. Use the appropriate identity type shown by the form; do not use invented identity details to create a live account.

Create your account, confirm your company details and choose the plan you intend to use. Then build one small quotation workflow, check the output and give your team the access they need.
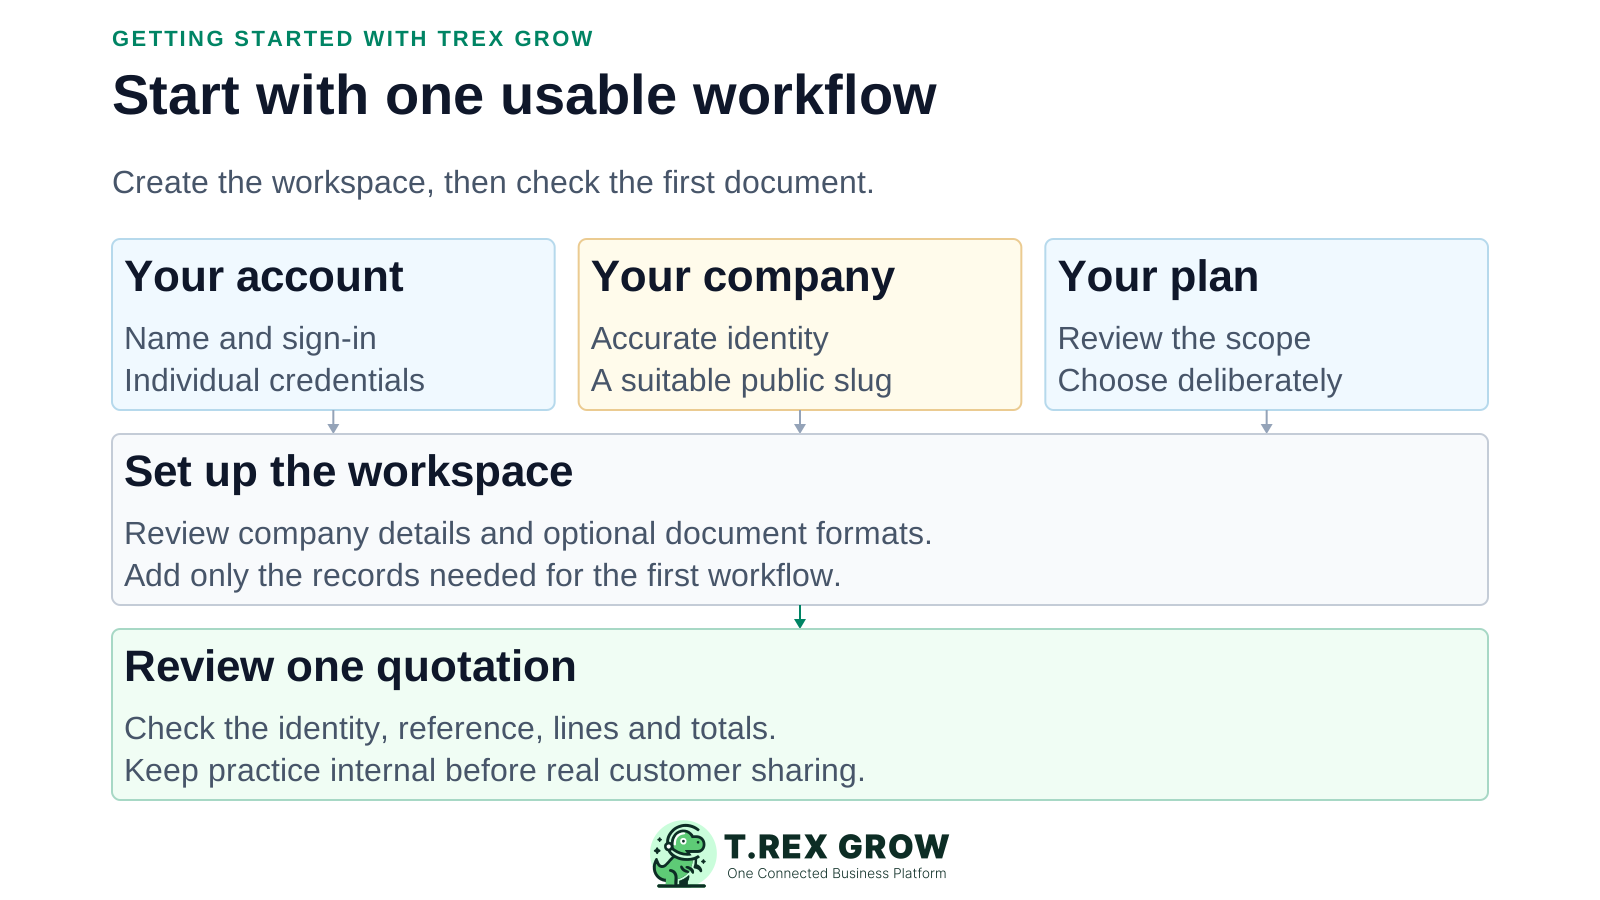
Start with the records needed for one useful workflow. Signup collects User, Company and Plan details; the next screen offers optional company-logo and document-format setup. You can return to Company Profile later.
Have your company name, registration details and contact information ready. Use the appropriate identity type shown by the form; do not use invented identity details to create a live account.
A reviewed quotation is a useful starting point. It lets you check customer details, products, pricing and document presentation before expanding into other workflows.
Use clearly labelled sample customer and product records for practice. Do not send them to real customers, record fictitious payments or submit them as e-Invoices.
The current signup form opens with Starter preselected. Review the Plan step deliberately; select Free if that is the plan you want.
Record the current facts in one shared place.
Confirm what is known and what needs attention.
Make the next decision or follow-up accountable.
Complete the next task and record the outcome.
Refresh the shared view when facts change.
A dependable workflow keeps the shared record and the next action aligned.
User: enter your name and email, then set and confirm a password that meets the displayed rules. Google signup may also be available.
Company: select the country and identity type, enter the requested company or personal identity details, and choose the company slug or username used in public links.
Plan: review the available options and select the scope you need. No payment is required during signup; paid plans begin with a one-time 30-day trial.
Choose Create Account. On the following setup screen, upload a company logo and review optional document formats, or choose Skip to continue into the app.
Free and a paid-plan trial are different starting choices. Check current pricing and trial conditions before creating the workspace.
Paid plans have a one-time 30-day trial. Review the current end-of-trial terms and contact process rather than assuming the account automatically becomes Free.
If accounting is in scope, plan configuration and accountant review. Creating a workspace does not make financial reports ready for reliance.
| Plan | Starting scope |
|---|---|
| Free | Core customers, products, quotations, invoices, catalog/RFQ and other included workflows. |
| Starter | Broader sales documents, attachments and multi-currency; Accounting Beta included. |
| Essential | Purchasing and core stock workflows in addition to Starter. |
| Premium | Extended warehouse controls in addition to Essential. |
These checks make your first document easier to trust. They are review steps, not a promise that the system verifies the business information for you.
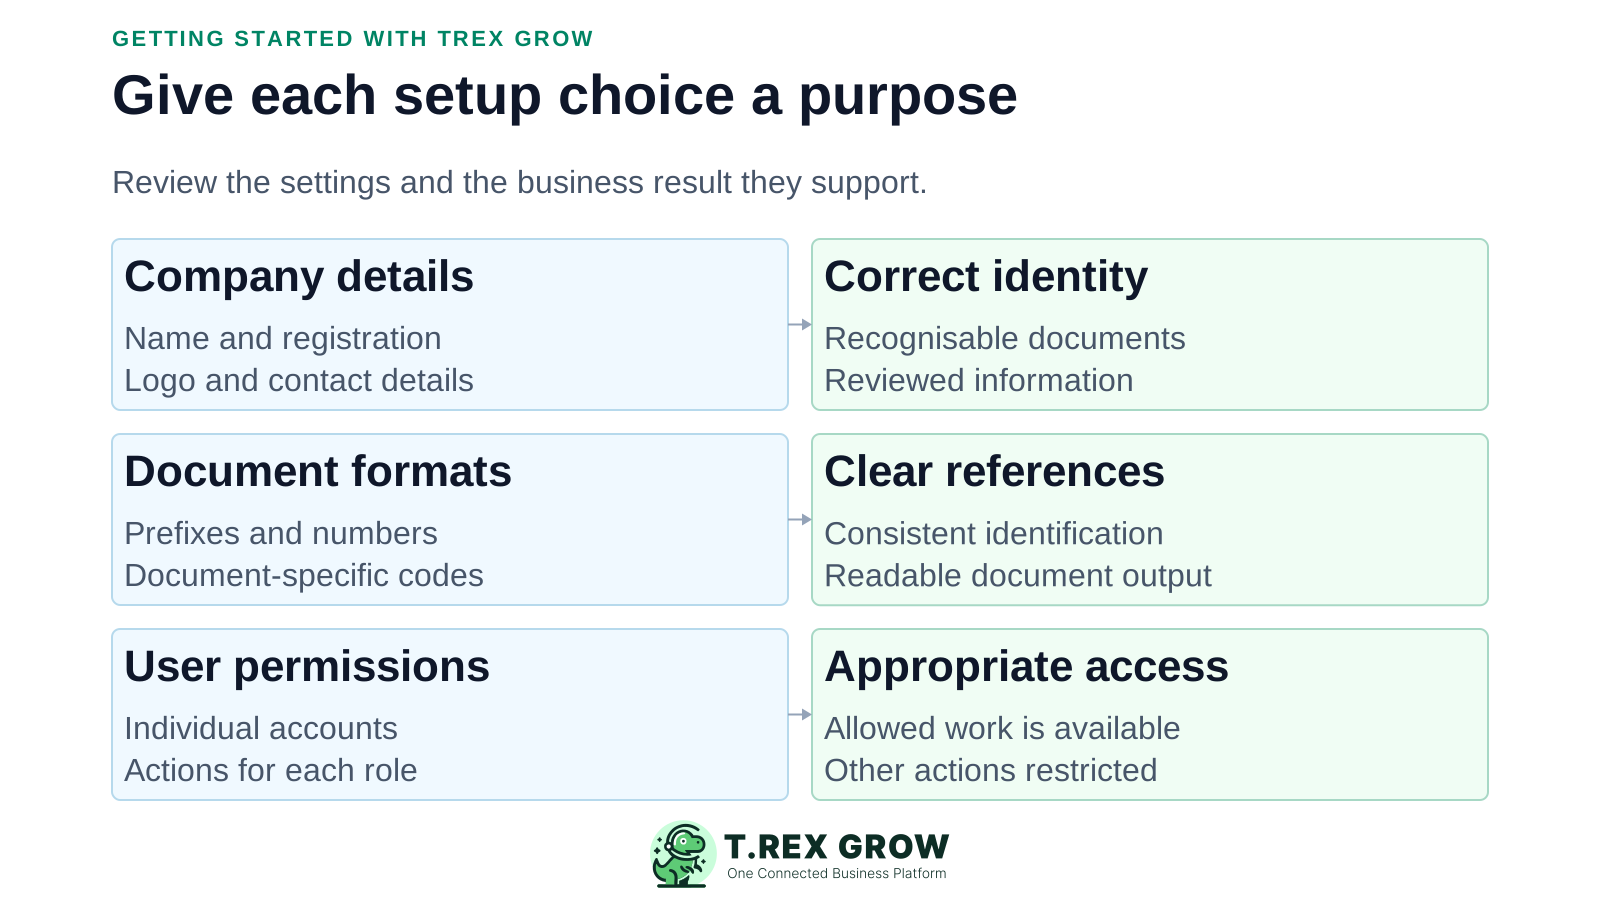
Review company information before issuing documents. The onboarding screen allows a logo and optional document formats; you can revisit the profile later.
Use the format controls and previews to check prefixes, numbering and revisions. A shared pattern can be applied across document types, each retaining its own document code.
An authorised administrator can manage users and their company permissions. Give each person only the actions needed for their role, then test access using that user's account.
The signup slug helps form public catalog links. Treat publishing and sharing as separate decisions; check visible information before distributing a link.
Use a small sample that your team can inspect easily. The aim is a correct document and clear next action—not a complete migration.
Record the current facts in one shared place.
Confirm what is known and what needs attention.
Make the next decision or follow-up accountable.
Complete the next task and record the outcome.
Refresh the shared view when facts change.
A dependable workflow keeps the shared record and the next action aligned.
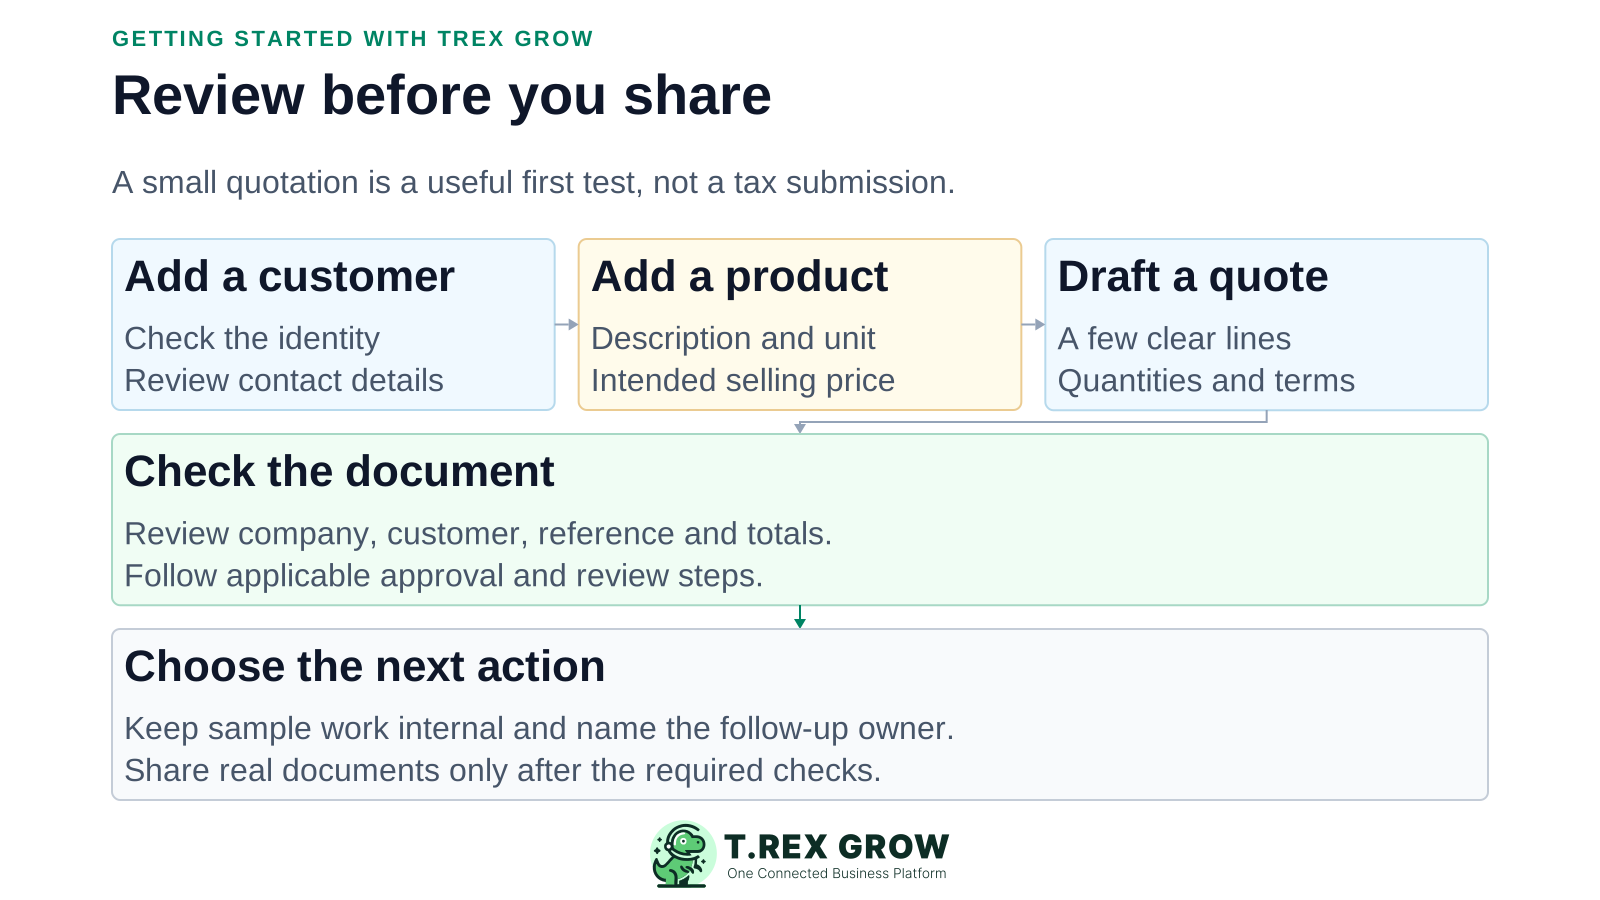
Add or select one customer and verify its name and relevant contact details.
Add or select a product or service with a clear description, unit and intended price.
Create a quotation with a small number of lines. Review quantities, prices and any applicable charges or tax settings.
Inspect the document output: company identity, customer, reference, description, totals and terms.
Follow any applicable review or approval step. Keep sample documents internal; share real documents only after the responsible person confirms them.
Record the next action and owner. Move to a later sales document only when the business event justifies it and the selected plan supports it.
A second person should be able to understand the document and continue the work without rebuilding its context.
A quotation is not an invoice, a reminder is not a payment and account setup is not e-Invoice activation.
Configure and test applicable e-Invoice settings before real submissions. Confirm accounting, stock and opening-balance requirements before relying on those areas.
| Check | Ready when |
|---|---|
| Identity | Company and customer information have been reviewed. |
| Document | Reference, lines, quantities, totals and terms match the intended transaction. |
| Access | The person doing the work can act, while unrelated actions are restricted. |
| Ownership | The next action and responsible person are clear. |
| External use | Someone has checked what will be shared or submitted. |
The best practice is to make the next action clear before the situation becomes urgent.
Add the next workflow your team needs, rather than configuring every module at once.
Review broader sales documents, delivery and payment handling on the appropriate plan.
Use Essential or above when the test includes supplier purchasing and core stock. Establish opening data and verify partial receipts or returns.
Assess Premium when location and picking controls are required. Confirm who records movements and checks differences.
Separate master records, opening positions and transaction history. Verify supported imports and reconcile a small sample; do not assume complete historical migration.
Use the product tour to orient the team, pricing to check access and the in-app User Manual for task guidance. For account or plan questions, use the current support/contact details on the website.
Optional onboarding can be skipped and company details reviewed later in Company Profile. Check them before issuing real documents.
Keep credentials private, review user access and inspect public links before sharing. Read the current data-security page for product boundaries and shared responsibilities.
Readiness depends on the workflow, record quality and checks your team needs. Start small and expand once the result is correct.
Have your company information ready, choose the intended plan and work through one quotation. Bring another team member into the review before expanding.
Yes. Review the Plan step and choose Free explicitly if that is what you want; the current signup form starts with Starter preselected. Paid-plan trials are a separate choice.